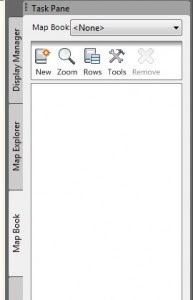
On the Task Pane of AutoCAD Map 3D, there is a series of tabs. I spend a lot of time demonstrating and talking about the first two, but I don’t spend much time on the third one – Map Book. The Map Book tab is simply a set of tools designed to help users generate an easily reproducible set of printed maps. It will generate a standard AutoCAD Sheet Set, but will include some tools specifically designed to simplify setting up a grid-based Sheet Set, complete with a key map and navigation features.
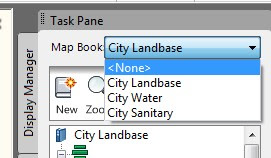 You can also have a number of Map Books defined. You may want different books for different utilities, or you may have different scales needed for different map sets. Moving back and forth is just a matter of selecting the appropriate map book at the top of the task pane.
Before creating a new map set, you need to make some decisions. You will need a template drawing file with a layout defined with a title block, and if desired, the adjacent navigation blocks, main, key view and legend viewports. There are a number of templates to use as examples that come with Map. You can find them with the other templates in \Documents and Settings\\Local Settings\Application Data\Autodesk\ AutoCAD Map 3D 2010\R17.2\enu\Templates. These templates may net perfectly suit your specific application, but they can give you some ideas.
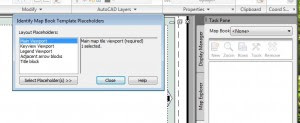 You can open one of these and use the Identify Template Placeholders command from the Tools button to look through the settings.
Once you have everything ready, you can use the New button to start a new map book. As with most things Map, you will get a workflow-based dialog box. Go through each section of the dialog before closing the dialog or hitting the generate button.
First, you’ll set a name in the Source. You will select Map Display if you’re plotting objects from the Display Manager (primarily FDO connections) and Model Space if you’re selecting AutoCAD Objects. Remember, you can add Objects from model space into the map display.
Your next step is to select the template drawing file, with the Layout and Title Block you’ve setup. At this point you can add the links to adjacent sheets. You will also set the scale here.
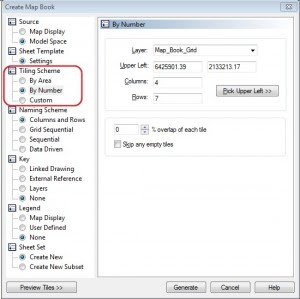 Next, you will set up your map grid using a Tiling Scheme. You can set the grid based on the size of the map (area), by the number of sheets you want, or by selecting a premade grid made from existing closed polylines. You can also set a map overlap, so that you can have a strip of surrounding area. You do that with a percentage.
If you want to create an overlap, and still keep scale maps (I’m not sure who wouldn’t), a friend of mine, Jeremiah McKnelly wrote a great tip for getting true scale map books with an overlap. Check it out here.
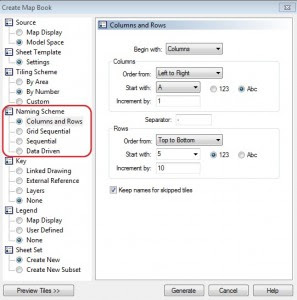 The next step is to set a naming scheme for your grid. You have several options based on numbers, letters, or you can even use data from the drawing using the expression builder.
Next you can define your key drawing. You can use premade keys, or generate one on the fly by selecting the layers you want to show.
You can then add a legend where map will setup the viewport if you’ve already created a legend, or you can set up a space to add one later.
Finally, you get to define where you’ll put your sheet set definition file (.DST).
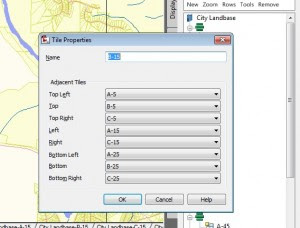 After all this, your Map Book tab will now display all the sheets with their views. You can check the properties of one of the views to see the adhacent sheet information stored. You will also see all of your new layouts, all named and ready to go.
The process allows you to very quickly layout some simple sheet sets with very minimal effort. If your organization needs to plot map books or sets of printed maps, this may be the right tool for


No comments:
Post a Comment